Sunday, February 16, 2014
Pastel Underpaintings
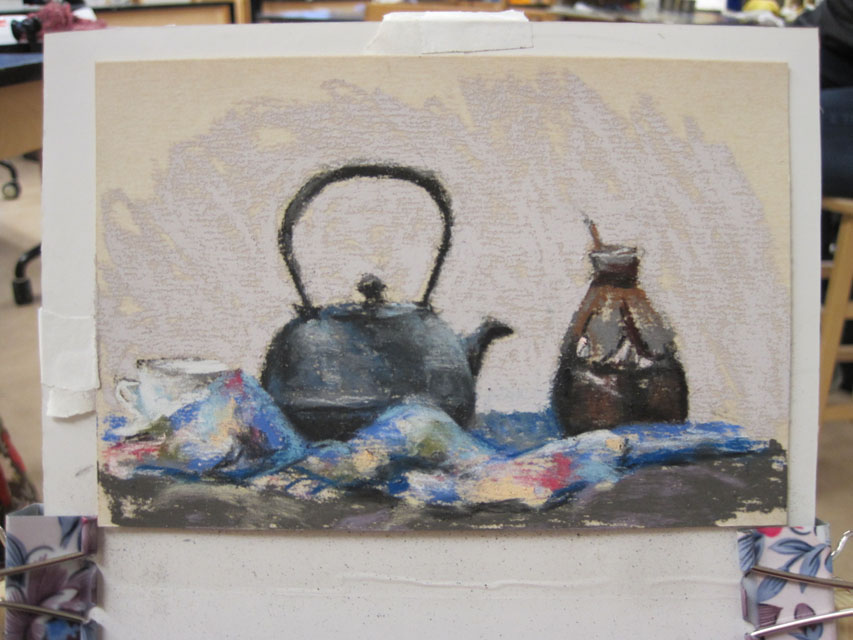
After the gesso dried, I put some transparent watercolor. I should have used more pigment as it dried pretty light.
Then I started layering the pastel. I was having difficulty in getting the pastel to cover the way I wanted and it was just laying on the top of the grit.
It looked really messy. I finally pressed the loose pigment into the surface using a piece of foam.
I continued on and finally gave up at this stage. Although it doesn't look too bad in the photo, in person, it seemed really messy.
I worked a bit more with a pastel pencil and was happy with the final result. (And everything looks better in a nice mat and frame! haha)
Sunday, February 09, 2014
Studio Work - Home Movies for Reference?
What I found interesting in the images were some of the compositions and colors. I decided to grab some screen shots and use them for my paintings! The image I chose today, is way before I was born, and I really have no idea where this house is, and I cannot tell who these people are! But the image really spoke to me, so I decided to paint this with pastels in a smaller format. Process shots below:
![]() |
"The House", 4.5 x 6", pastel on PastelMat |
Friday, February 07, 2014
Studio Work - View to the Hills
![]() |
"View to the Hills", 6.5" x 12", pastel on 230 grit UArt sanded paper |
Wednesday, February 05, 2014
Snow Day in the Studio
I was planning on using one of my tiny pastels as a reference, and decided to do an oil wash under painting. I was using a previously gouache toned 230 grit UArt sanded paper. Process shots below. I feel I still need to do something else to the foliage - either soften or go more graphic. I actually like the feel of the trees in photo #5 the best. I will let it sit for a few days before I do more:
Sunday, February 02, 2014
Painting with the Gang at the MAC
There were several still lifes setup on the table, and I chose the teacup, teapot and sake pot. You can see the setup in the photos with the red arrow. Process shots below:
Sunday, January 26, 2014
Studio Still Life
I couldn't find a reference photo that inspired me, so decided to setup a still life. I used a fabric bin, on its side, to be able to control the light on my setup. I planned on only using the south light coming in my studio window as my light source. The sky today was overcast but the snow cover gave a nice soft light. The photos below are actually brighter than actual because the iPad adjusted the lighting in the photos. Later, the lighting from the window caused some problems.
The inside of the bin was an apple green, which I didn't like, so I cut some mat black board to line the bin. I used a nice silky fabric for the floor, but actually didn't use the pattern or color of this fabric in the end, instead choosing the complementary color of blue.
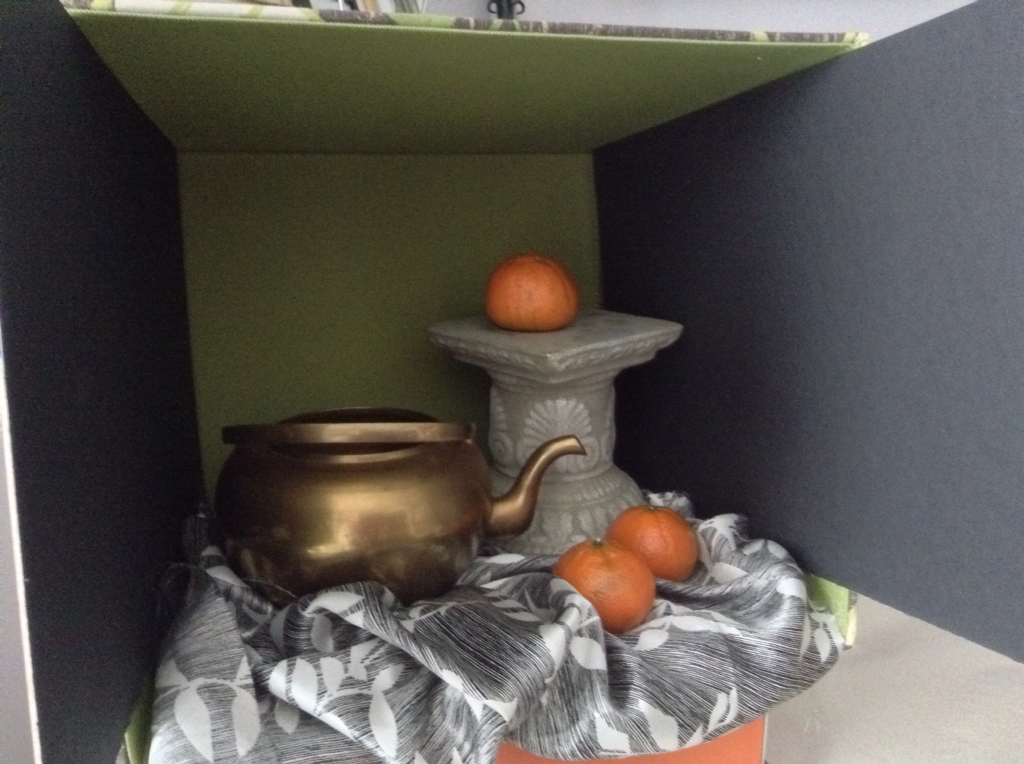